Getting Started
Custom Transformation Plugins - Getting Started
IMPORTANT: Developing custom plugins as described in this section involves the use of Microsoft's Visual Studio integrated development environment (IDE) for Windows. It is not recommended for anyone who is unfamiliar with Visual Studio, C# Development, or object orientated programming.
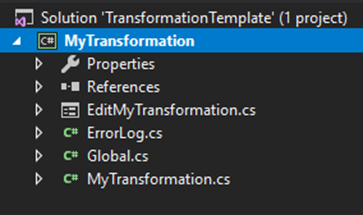
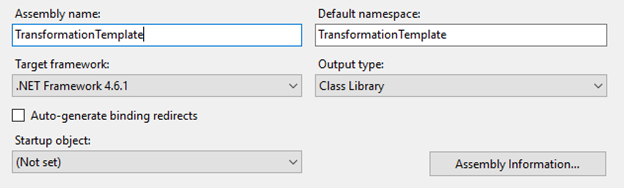
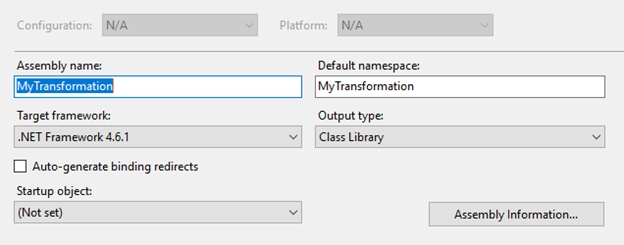
First thing’s first. Let’s start by making a copy of the template and renaming all files and directories called “TransformationTemplate” to “MyTransformation”. The Assembly Name must also be updated so that the .dll file shows the proper name. The namespace should also be updated. Anywhere you see “TransformationTemplate”, it should be changed to the name of your transformation.
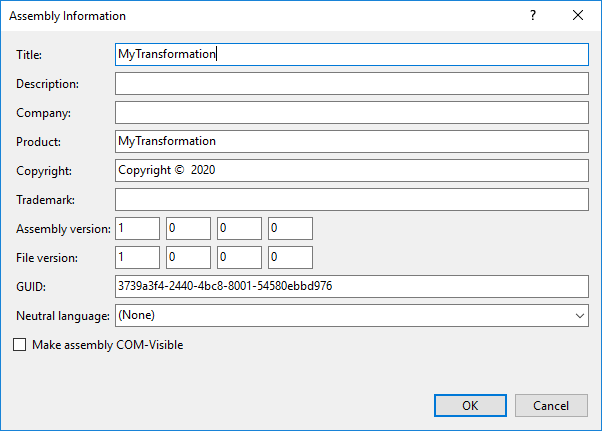
Also, update the Assembly Information.
If you choose to change the folders your project is located in, you will see something like this
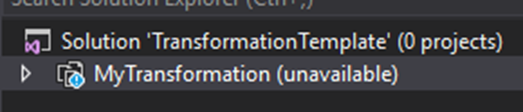
And we'll have to update the File Path in Properties to reflect the new directory name(s)


and then right click -> Reload Project.
Next, we should update the Name in Global by replacing “Transformation” with “My Transformation”.

We are going to start with the UI and then work our way to the transformation code. We are going to navigate to EditMyTransformation.cs.