Putting it All Together
Custom Transformation Plugins - Putting it all Together
IMPORTANT: Developing custom plugins as described in this section involves the use of Microsoft's Visual Studio integrated development environment (IDE) for Windows. It is not recommended for anyone who is unfamiliar with Visual Studio, C# Development, or object orientated programming.
Now that we have completed the code for MyTransformation, we are ready to create the .dll file and drop it in! To create the .dll, in Debug mode, simply click Build->Build Solution (or press Ctrl+Shift+B). Once it has been created, we navigate to the /bin/Debug directory of MyTransformation project to make sure the name is “[NameOfYourTransformation].dll” and not “TransformationTemplate.dll”.
Next, we stop the Service and exit TagsCollector. This can be done by right-clicking the TagsCollector tray icon and selecting “Stop Service.2” After service has stopped, right-click the tray icon again and select “Exit”. If by chance the service is running without TagsCollector, the service can be stopped by going to “Services” in Windows and right-clicking the TagsCollectorV4 service and clicking “Stop.”
After TagsCollector has exited and the service stopped, navigate to the installation folder, typically something like C:\Program Files (x86)\Teronus\TagsCollector\, and then navigate to \TC4ServicePublish\TransformationPlugins. This folder contains all the .dll files for the plugins.
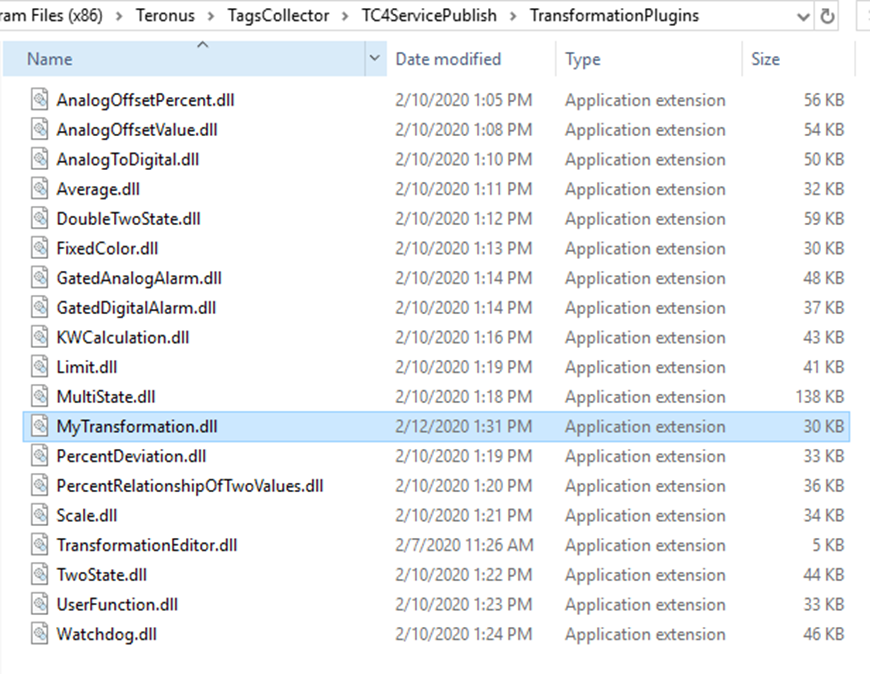
Place the newly created .dll inside this folder.
Now it’s all ready to go!
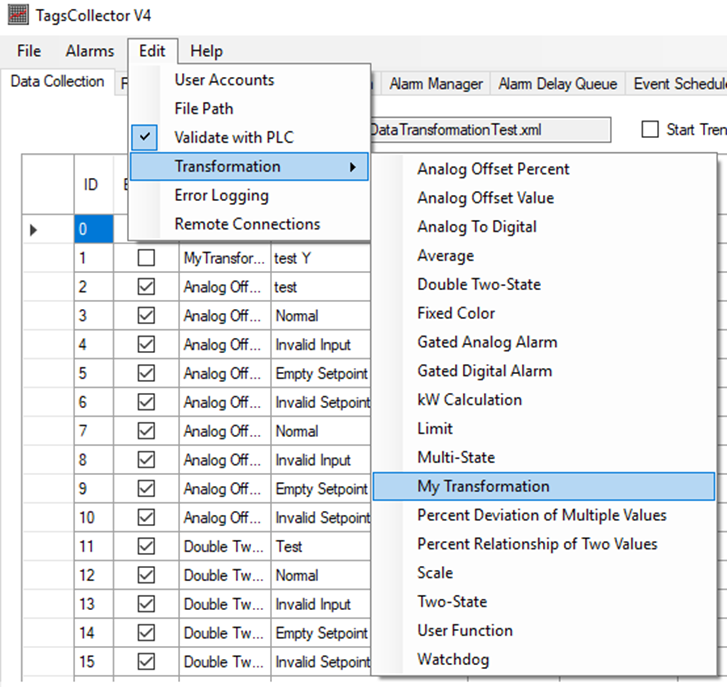
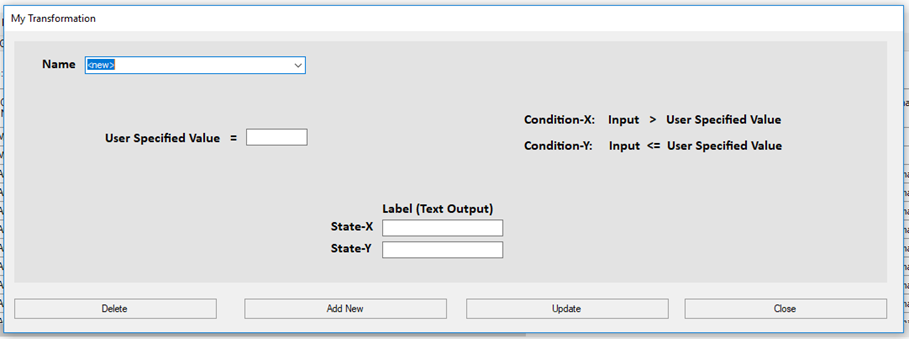
We open TagsCollector and verify that MyTransformation has been successfully added.